Hello friends,
I am back and today, I will talk a little bit more about Nano server. In this article, I will show you a step-by-step process to deploy it. I would also like to explain how to add packages and further discuss details about Powershell cmdlets used to deploy it. The installation and configuration will be divided in two articles. This is the first part! Let’s get start.
The first step to install Nano server is to “get the Windows Server 2016 ISO” on the Microsoft Download Center. In order to find it, just google Windows Server 2016 and a download link can be obtained easily.
Once you got the ISO media, mount it and go to CD Drive:\Nano Server folder.
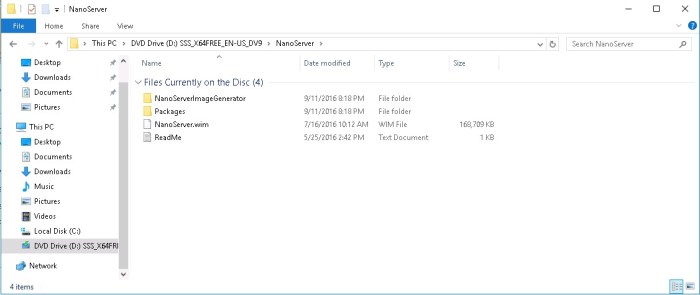
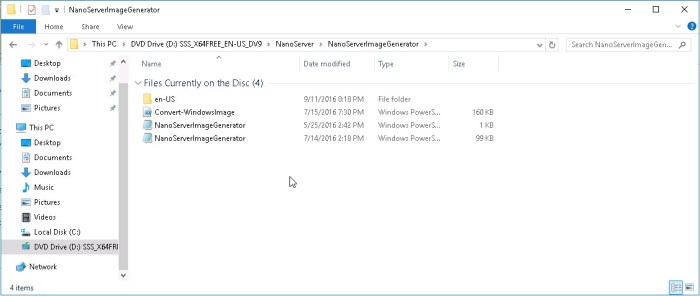
In this folder, you will find two sub folders. The first one is NanoServerImageGenerator.
In this sub folder, you will find the Powershell scripts needed to deploy a Nano server vhd.
The second sub folder is named Packages. Everything that you want to add in a Nano Server installation will be found in this folder. For example, if you want to deploy a Hyper-V Server, open a Powershell console, go to \Packages, then lastly, run a Powershell cmdlet in order for the Hyper-V Server Role to be installed.

Another two files will be found on NanoServer folder:
- wim – this file contains a base image for a Nano Server.
- txt – it is just an informational file.
Let’s get started and install the Nano Server
Open a Powershell console as administrator and run the following cmdlet

It will import the NanoServerImageGenerator module.
The parameter “-verbose” is just to verify which news cmdlet are available.
We will use “New-NanoServerImage” cmdlet to install our first Nano server. I will also likewise explain all parameters used in this example. Bellow the complete cmdlet.
New-NanoServerImage –MediaPath ‘D:\’ –TargetPath C:\VMS\NanoServer01\NanoServer01.vhd –Edition DataCenter –DeploymentType Guest – ComputerName NanoServer01 –Package ‘Microsoft-NanoServer-IIS-Package’

- New-NanoServerImage – cmdlet needed to deploy a Nano server.
- -MediaPath – you should specify the location of Windows server 2016 installation media.
- -TargetPath – folder location where the Nano’s server vhd file will be save.
- -Edition – Choose the Operating System version edition desired.
- -DeploymentType – you can select guest or host, if you select guest it means the Nano server will be placed in a Hyper-V host. If you choose Host, it means Nano Server will be installed in a physical machine.
- -ComputerName – to determine Nano’s server name
- -Package – to specify which additional package will be installed.
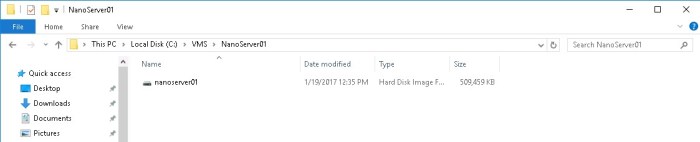
After some minutes, the installation will be done. Let’s go to the target folder that we used in our example and let’s check the vhd file. As we can see from the screenshot below, the vhd file has less than 500 MB.
Once we have the vhd done, let’s attach it and create a new virtual machine in our Hyper-V Host.
Open a Powershell and type the cmdlet bellow.

Finally, let’s start our Nano server

Open Server Manager console, click in Tools and then select Hyper-V Manager. You will see that our Nano Server will be already started. Right-click on NanoServer01 and then click on Connect…


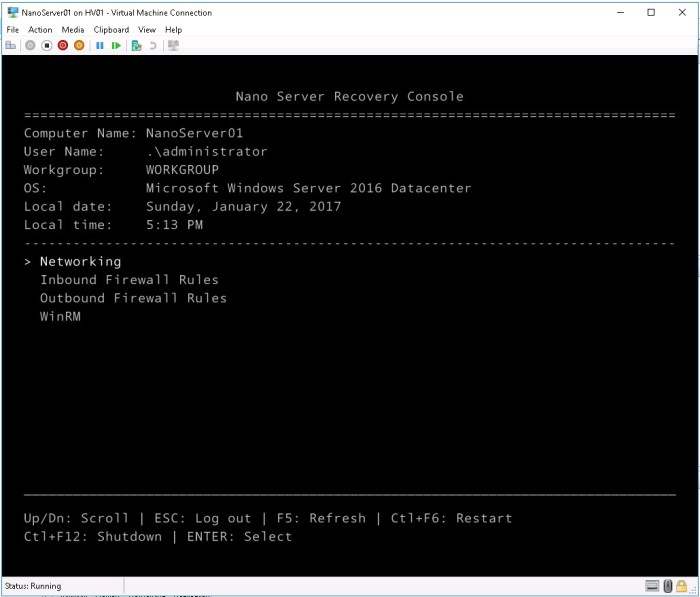
Here we are! Now you can see the “Nano Server Recovery Console”, write down the credentials and login!
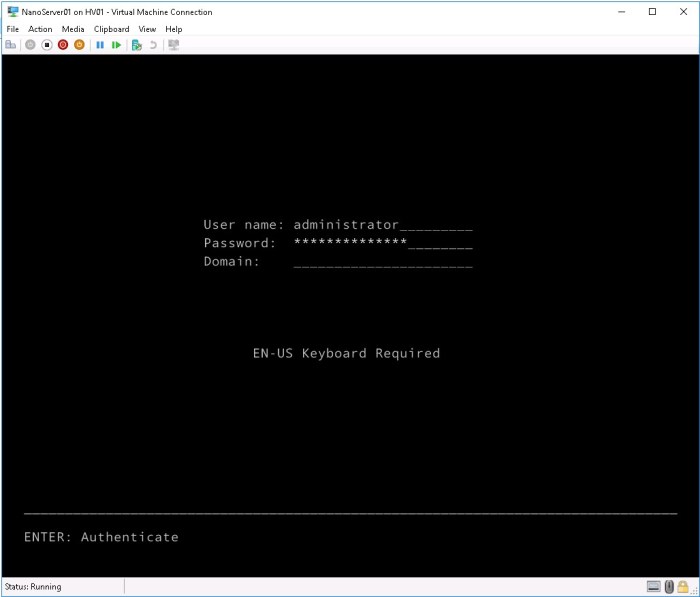
Now you have already been logged in on our Nano server.
In the next post we will configure the network interface, configure the firewall to open some TCP ports, validate the IIS installation and use Powershell to manage this VM.
I hope this article help you to understand a little bit more about Nano’s Server deployment and how it works. If you have questions, feel free to send me a message. It will be my pleasure!
See you in the next post “Nano’s server installation – Part 2”
